Hi guys,
Today I’m going to show you how to install VMware Workstation 12.1 on Windows 10.
As you might know, VMware is the most popular operating system virtualization software in the world. To be honest with you, I always prefer VMware to Microsoft Hyper-V, Oracle VirtualBox or so. I almost tried every virtualization software for some reason, and all the time I got some stupid errors from them. Anyway, let’s start!
Please note that you have to enable your virtualizations setting from your BIOS.
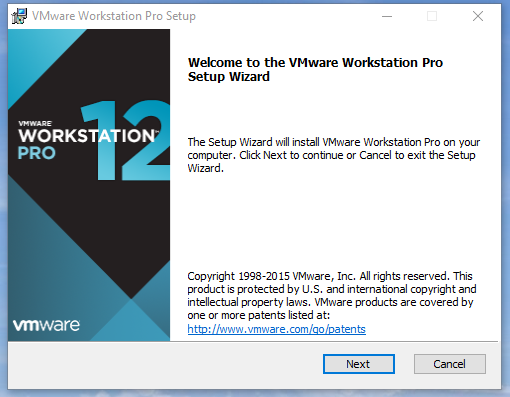
Just click the installation .exe file, then you will get this screen first:
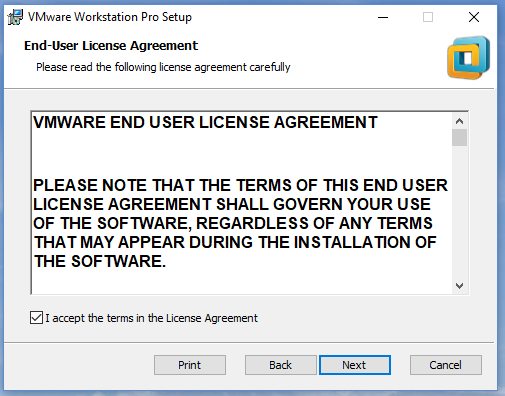
Of course, read the end-user license agreement at the end of line :p if you agree, just click the checkbox for accepting the terms.
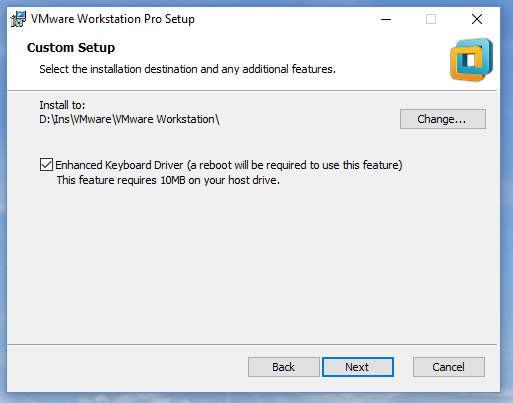
If you wish, you can change the installation directory by clicking change button. I changed it because I don’t want VMware to use my SSD, which is located on C.
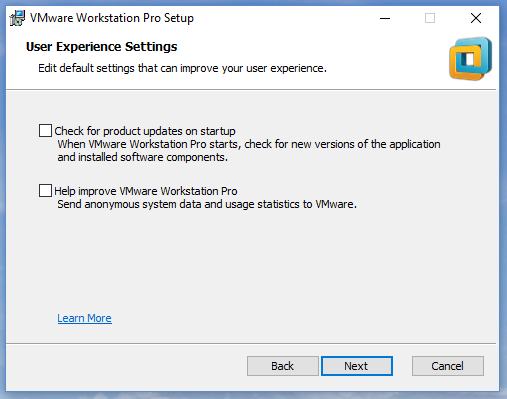
Getting updates on startup and sending data to VMware for diagnostic purpose. I just unchecked them.
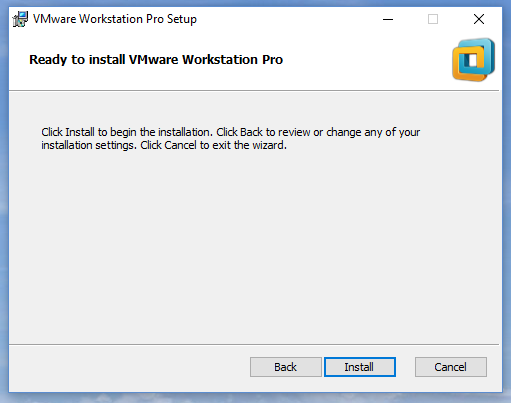
Then click install button.
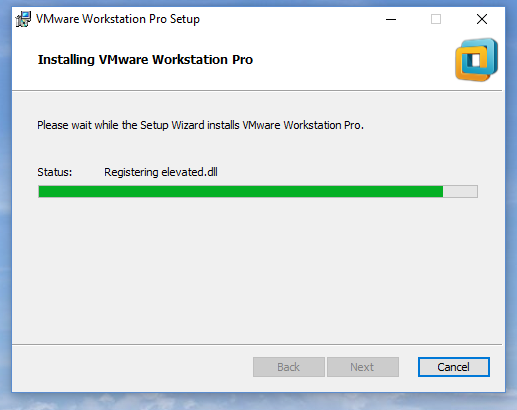
Installing…
Double click on your VMware shortcut on your desktop. When the program opens first, you will get this activation screen. Type your licence key and click continue.
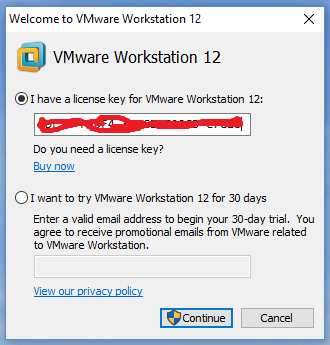
aaaand bam! Welcome to WMware Workstation 12 PRO.
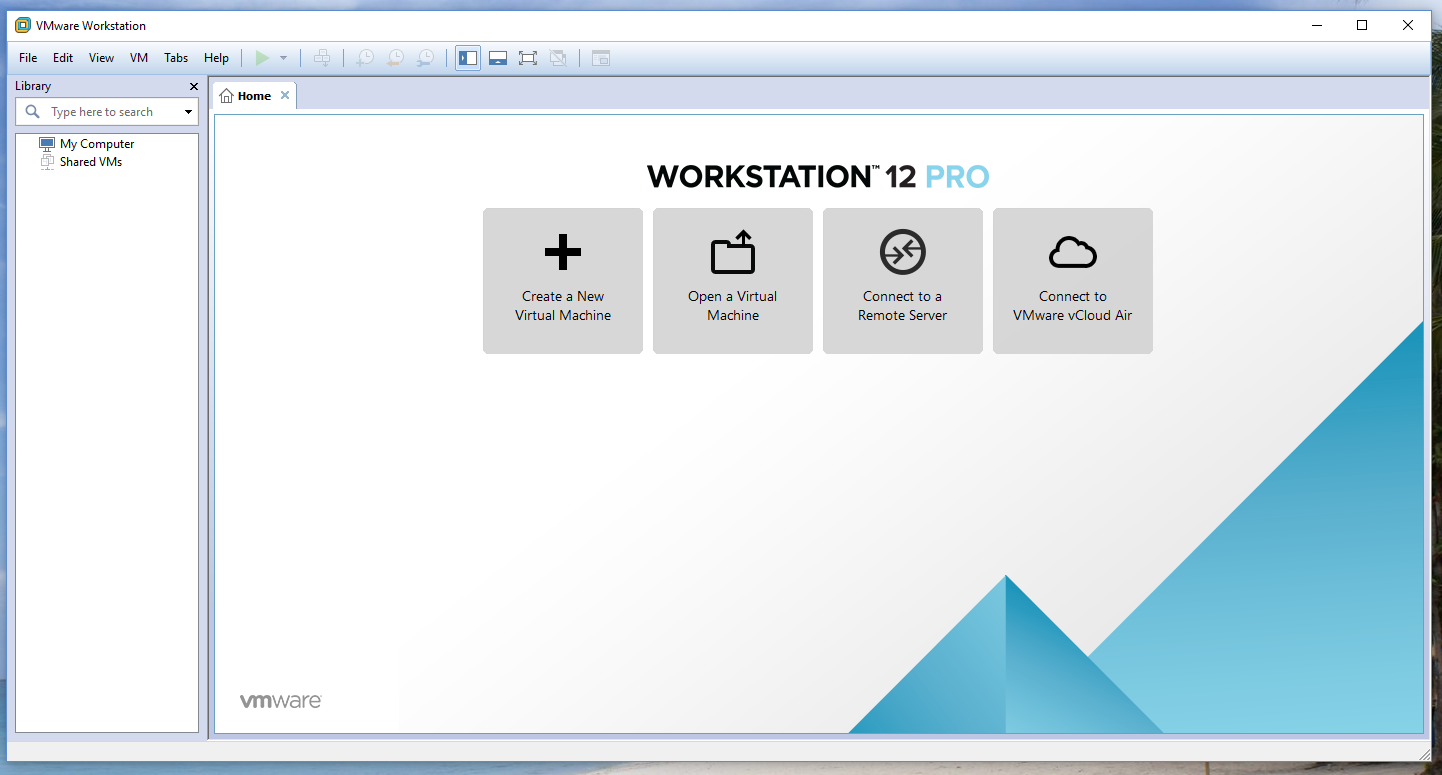
Please click here if you would like to learn how to install Windows 10 32 bit with VMware Workstation 12.